Knowledge Base Archives: A1/GX

A1/GX Service Instructions

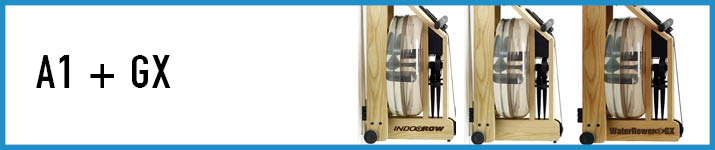
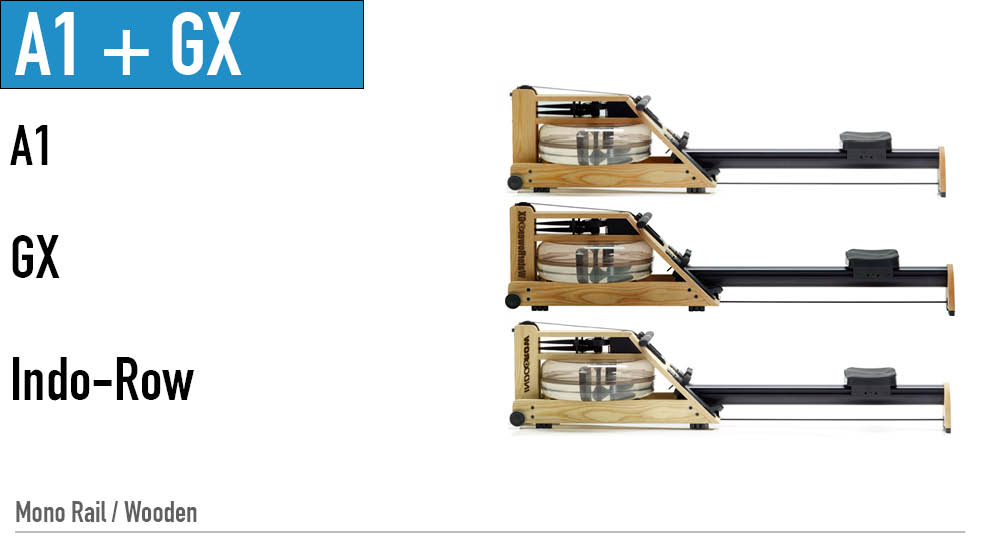
A1/GX: Handle Replacement (metal clutch)

For Video Instructions, click here: Replacing the Handle Assembly (Metal/Velcro attachment) Step 1- Remove the Handle from the handle rests and place the handle in the full forward position.   Step 2- Stand the WaterRower upright and disconnect the bungee from the recoil belt as shown.   Step 3- Lay the WaterRower down and slowly …

A1/GX Service Instructions

A1/GX: Handle Replacement (plastic clutch)

For Video Instructions, click here: Replacing the Handle Assembly (Plastic – Bolt On)   Step 1- Remove the handle from the handle rests and place it in the full forward position. Step 2- Stand the WaterRower upright and unclip the bungee from the recoil belt.   Step 3- Lay the WaterRower down and slowly pull …

A1/GX Service Instructions

A1/GX: Clutch Replacement (metal)

Step 1- Remove the handle from the handle rests and place the handle in the full forward position as shown. Step 2- Stand the WaterRower upright and disconnect the bungee as shown. Step 3- Lay the WaterRower down and slowly pull the handle so that the drive strap unwinds from the clutch housing. Do this …

A1/GX Service Instructions

A1/GX: Sensor Modification

If the machine is not registering stroke rate, but distance and time are registering, there may be an issue with the sensor placement and it may need to be slightly adjusted to be closer to the sensor disk. The photo below illustrates plastic tabs extruding from the plate and if removed, there is more clearance …

A1/GX Service Instructions

A1/GX: Sensor Disk Replacement

Step 1.  Detach the top deck from the tank assembly by unscrewing the upper tie rod bolts and the top deck JCB bolts. *When removing the tie rods, a barrel nut from under the top deck will come out. Keep for reassembly. Step 2.  Gently lift the top deck, be careful not to dislodge the …

A1/GX Service Instructions

A1/GX: Sensor Replacement

Step 1.  Remove the handle from the handle rests and place the handle in the full position as shown. Step 2.  Remove the top 2 tie rods and JCB bolts connecting the top deck to the tank assembly as shown. Step 3.  Remove the top deck assembly as shown, being careful not to dislodge the …

A1/GX Monitor Service Instructions

A1/GX: Monitor Replacement

You will need a Phillips screw driver to replace your monitor. Step 1.  Using the Phillips screw driver, undo the top and bottom screws on the monitor. Step 2.  Gently lift the monitor away from the footboard, you will notice the battery pack positioned behind the monitor in the footboard and a small opening where …

A1/GX Service Instructions

A1/GX: Seat Carriage Replacement

Step 1.  Stand the Indo-Row machine up and undo the bungee cord. Step 2.  Using the 5mm Allen Key, undo the 2 back rear leg bolts. Step 3.  Using the 5mm Allen Key undo the 2 back seat stoppers on either side of the monorail. Step 4.  Slide the seat carriage off the rail. Step …

A1/GX Service Instructions

A1/GX: Seat Replacement

Step 1.  Stand the Indo-Row machine up and unclip the bungee cord. Step 2.  Using the 5mm Allen Key, undo the 2 back rear leg bolts. Step 3.  Using the 5mm Allen Key undo the 2 back seat stoppers on either side of the monorail and slide the stoppers out. You may just have rubber …