Knowledge Base Archives: Series 4

Series 4 Service Instructions

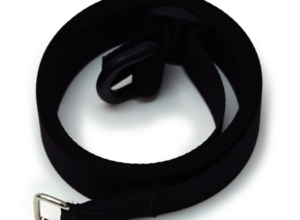
Series 4: Recoil Belt Buckle Replacement

Step 1- Pass the Recoil Belt through the bungee buckle with the belt facing the serrations on the buckle as shown.   Step 2- Pass the Recoil Belt through the D-ring and back through the bungee buckle as shown. The Recoil Belt should follow itself back through the buckle. It is advised that the loose …

Monitor Series 4 Service Instructions

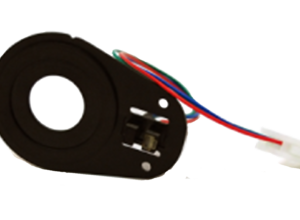
Series 4: Monitor Sensor Replacement

For Video Instructions, click here: S4 Monitor Sensor Replacement Step 1- Remove the handle from the handle rests and place the handle in the full forward position as shown.   Step 2- Stand the WaterRower upright and disconnect the bungee as shown.   Step 3- Remove the Tie Rods and JCB bolts connecting the Top …

Series 4 Service Instructions

Series 4: Forward Riser Replacement

For Video Instructions, please see the following link: Replacing the Forward Riser Assembly Step 1- Detach the bungee from the recoil belt. Step 2- Remove handle assembly (see handle removal replacement instructions) Step 3- Remove Tie Rod bolts as shown. Step 4- Remove the fasteners connecting the forward riser bottom bracket to the side rails as …

Series 4 Service Instructions

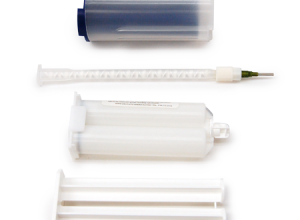
Series 4: Tank Reseal with Glue Kit

If your tank has sprung a leak, the best way to go about repairing it is with our Tank Glue Kit. We have full written instructions as well as a service video available for you below.   Please read all instructions carefully and view the service video before attempting this repair. Be sure to handle the …

Series 4 Service Instructions

Series 4: Recoil Bushing Replacement

Handle Removal Step 1- Remove the handle from the Handle rests and place the Handle in the full forward position.   Step 2- Stand the WaterRower upright and disconnect the bungee from the Recoil Belt as shown.   Step 3- Lay the WaterRower down and slowly pull the handle so that the Drive Strap unwinds …

Series 4 Service Instructions

Series 4: Oilite Bearing Replacement

Step 1- Remove the Handle from the handle rests and place the handle in the full forward position. Step 2- Stand the WaterRower upright and disconnect the bungee from the Recoil Belt as shown.   Step 3- Lay the WaterRower down and slowly pull the handle so that the Drive Strap unwinds from the clutch …

Series 4 Service Instructions

Series 4: Level Gauge Location

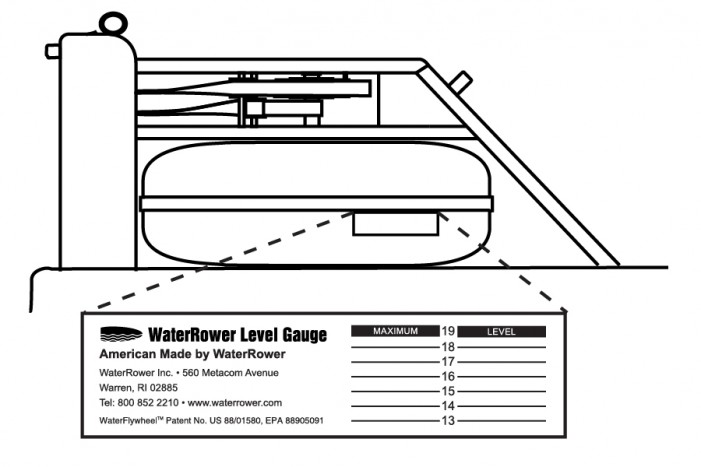
The Level Gauge sticker on all Series 4 (S4) model WaterRower units, is located on the side of the tank under the tank stopper.   The Level Gauge sticker on the A1 and Indo-Row units is located on the bottom of the tank. On the A1 and GX WaterRower units, this sticker also has the …

Series 4 Service Instructions

Series 4: Recoil Belt Replacement (Clip On Recoil)

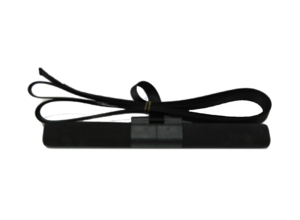
For Video Instructions, click here: Replacing the Recoil Belt Step 1- Remove the handle from the handle rests and place the handle in the full forward position Step 2- Stand the WaterRower upright and disconnect the bungee from the recoil belt as shown Step 3- Lay the machine down and remove the recoil strap from …

Series 4 Service Instructions

Series 4: Handle Replacement (metal clutch)

For Video Instructions, click here: Replacing the Handle Assembly (Metal/Velcro attachment) Step 1- Remove the Handle from the handle rests and place the handle in the full forward position Step 2- Stand the WaterRower upright and disconnect the bungee from the recoil belt as shown. Step 3- Lay the WaterRower down and slowly pull the …