Knowledge Base Archives: Series 4

Series 4 Service Instructions

Series 4: Handle Replacement (plastic clutch)

For Video Instructions, click here: Replacing the Handle Assembly (Plastic – Bolt On)   Step 1- Remove the handle from the handle rests and place it in the full forward position.   Step 2- Stand the WaterRower upright and unclip the bungee from the recoil belt.   Step 3- Lay the WaterRower down and slowly …

Series 4 Service Instructions

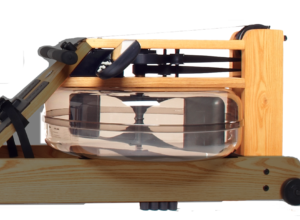
Series 4: Full Tank Assembly Replacement

Step 1.  Remove the Handle from the handle rests and place the handle in the full forward position Step 2.  Stand the WaterRower upright and disconnect the bungee from the recoil belt as shown Step 3.  Lay the WaterRower down and slowly pull the handle so that the drive strap unwinds from the clutch housing. …

Series 4 Service Instructions

Series 4: Clutch Replacement (Metal)

For Video Instructions, click here: Replacing the Clutch (Plastic) Step 1- Remove the handle from the handle rests and place the handle in the full forward position as shown.   Step 2- Stand the WaterRower upright and disconnect the bungee as shown. Step 3- Lay the WaterRower down and slowly pull the handle so that …

Series 4 Service Instructions

Series 4: Clutch Replacement (Plastic)

For Video Instructions, click here: Replacing the Clutch (Plastic) Step 1- Remove the handle from the handle rests and place the handle in the full forward position as shown.   Step 2- Stand the WaterRower upright and disconnect the bungee as shown. Step 3- Lay the WaterRower down and slowly pull the handle so that …

Series 4 Service Instructions

Series 4: Rail Extrusion Removal

*These instructions are made for all wooden WaterRower models. This includes the Natural, Club, Oxbridge and Classic models. Step 1- With the 5mm Allen Key, unscrew the seat stops. There are two on each rail; one at the front, and one at the rear. Remove the seat from the WaterRower.   Step 2- Remove the …

Series 4 Service Instructions

Series 4: Rubber Feet Replacement

Step 1- Locate the two sets of indentation guides on the bottom of the wooden rail. A:The rear rubber feet indentations are approximately 3 1/2” from the back of each rail. B:The front rubber feet indentations are approximately 13” from the front of each rail.   Step 2- Start at the rear of the rail …

Series 4 Service Instructions

Series 4: Seat Replacement

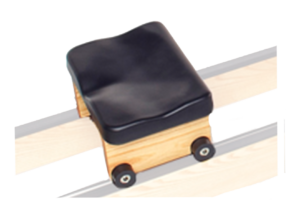
Step 1- Loosen the fasteners holding the Rear Spacer to the rails three or four turns each.   Step 2- Remove the seat.   Step 3- Replace the seat. Step 4- Tighten the fasteners holding the Rear Spacer to the rails.