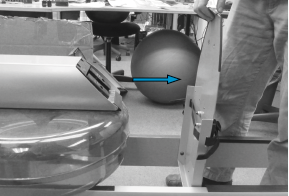
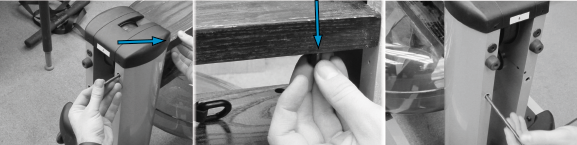
Step 1. Place handle into the most forward position near the Forward Riser Pulley.
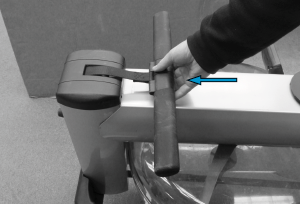
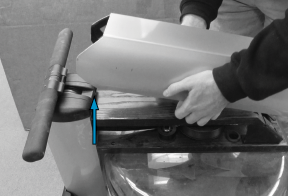
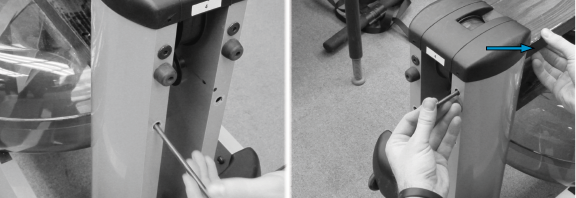
Step 2. Remove the handle rest bolts.
Step 3. Pivot back the footboard.
Step 4. Pivot back the footboard.
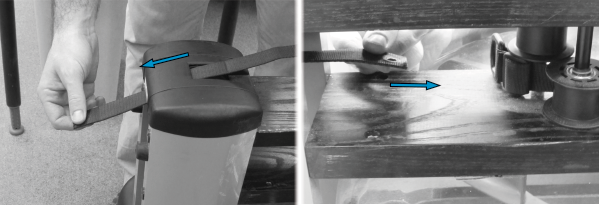
Step 5. Remove the handle. To do this;
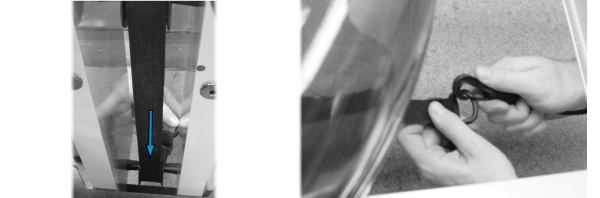
a. Unclip the bungee cord from the recoil strap. Gently pull the handle keeping tension on the recoil belt. The recoil belt will wind around the paddle shaft underneath the clutch.
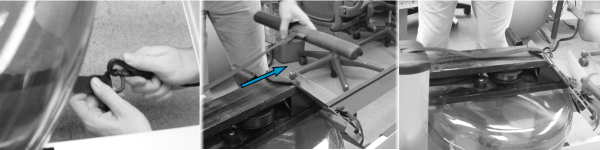
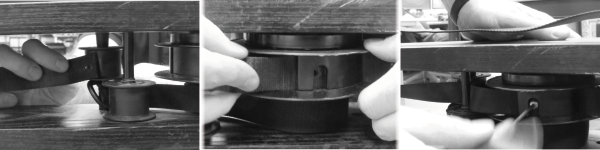
Remove the handle, (Continued);
b. Using a 1/8 allen key, remove the bolt joining the handle to the clutch.
c. Pull the handle free from the clutch.

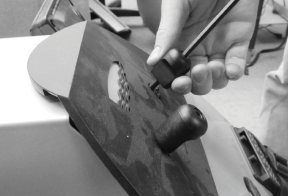
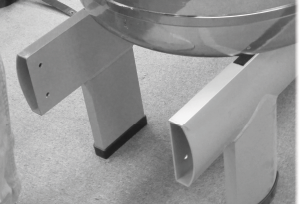
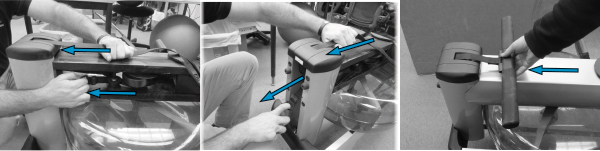
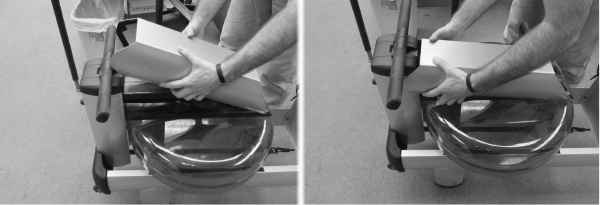
Step 6. Using the 5mm ratchet supplied with the machine, remove the bolts and washers (2 on either side) joining the Font End Pad to each rail.
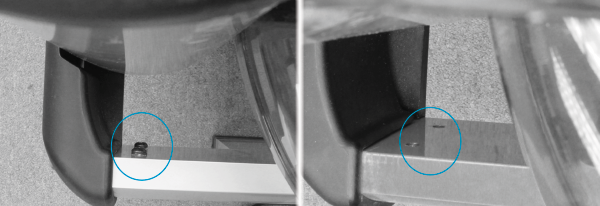
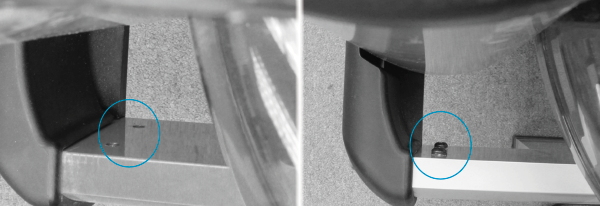
Step 7. Using the 5mm ratchet supplied with the machine, remove the 4 tie rods bolts. Be sure to keep an eye on the barrel nuts that will fall out from underneath the Top Deck when removing the top tie rod bolts. The bottom tie rod barrel nuts will stay in place.
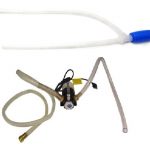
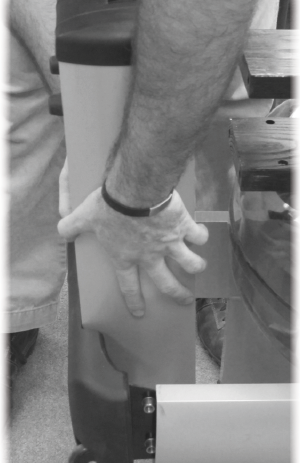
Step 8. Remove the Forward Riser Assembly.
Step 9. Replace with the new Forward Riser Assembly.
Step 10. To secure the replacement Forward Riser in place, screw back in the 4 bolts and washers securing the Front End pad to each rail. We recommend leaving these slightly loose in case any adjustment is needed when securing the tie rods.
Step 11. Replace all 4 tie rods, the lower tie rods should screw straight in to the housed barrel nuts. The upper tie rods require holding the barrel nut in place to screw in the tie rod.
Step 12. Ensure the handle is the correct way around before threading the strap through the end cap and over the Forward Riser Pulley.
Step 13. Guide the handle strap over the Forward Riser pulley, underneath the top deck and on the inside of the top guide pulley. Thread it through the openings in the clutch and secure the handle by tightening the small bolt with the 1/8 allen key
Step 14. Once the handle is secure, gently pull on the recoil belt to wind the handle around the clutch. The handle must reach its most forward position, up against the Forward Riser.
Step 15. Ensure the recoil belt is straight and aligned over the 2 guide pulleys on the Forward Riser. Reconnect the bungee cord to the recoil belt.
Step 16. Replace the tank cover plate.
Step 17. Swing the footboard back into position towards the tank and replace the handle rests and bolts. Be sure to tighten the all bolts on the rower, especially the bolts joining the front end pad to each rail which were left loose from Step 10.