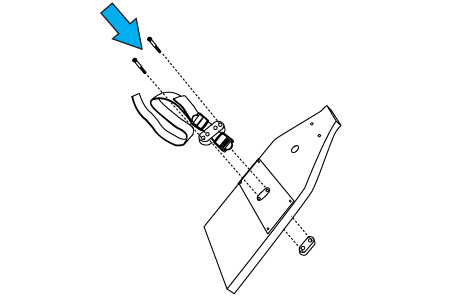
Step 1-Remove the Handle from the handle rests and place the handle in the full forward position.

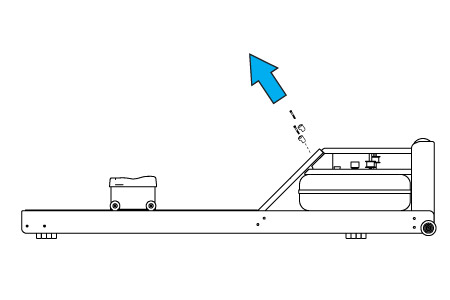
Step 2– Remove the handle rest bolts and handle rests as shown.
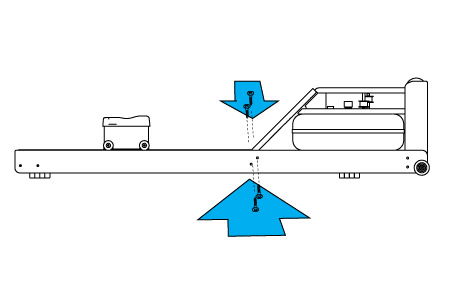
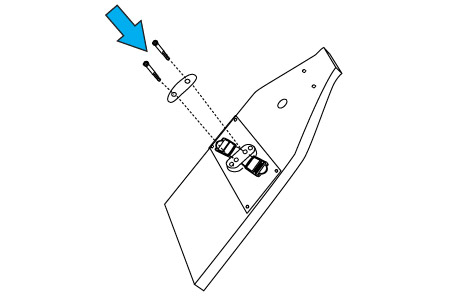
Step 3– Remove side bolts fixing the Foot Board to the side rails as shown.
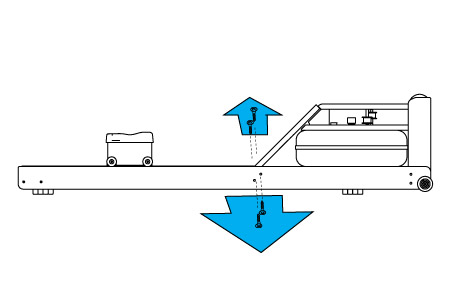
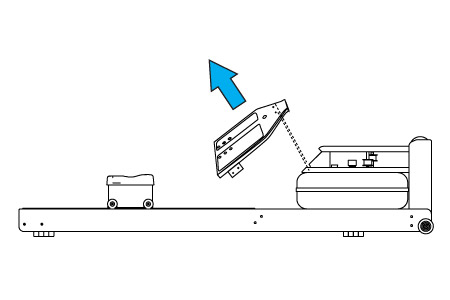
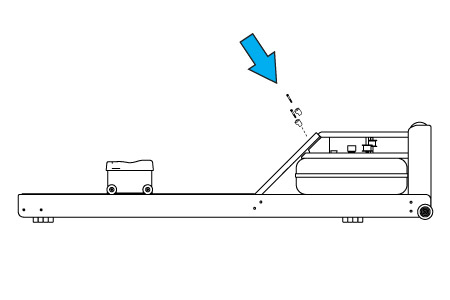
Step 4– Remove the Foot Board as shown.
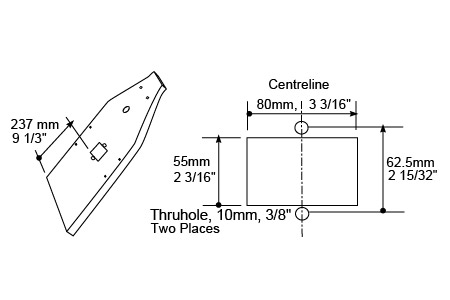
Step 5– Remove the Heel Rest and Foot Strap. Drill the thru holes and machine the pocket in the Floating Heel Rest to the dimension shown. Note that the rectangular pocket should be 15mm (0.600″) deep. Ensure that the holes and pocket are centered in the Foot Board.
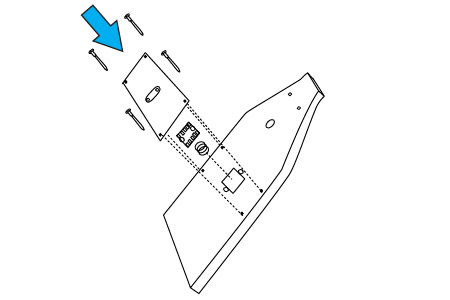
Step 6– Using the wood screws supplied with the Floating Heel rest kit, fit the Lock Plate, Lock Plate Spring and Cover Plate to the Foot Board as shown.It may be necessary to mark and drill pilot holes first. Ensure that the Cover Plate is positioned square and so that the Pock Plate assembly is free from all sides of the machined pocket.
Step 7– Using the 5mm Allen Key provided with the machine, replace the Foot Strap as shown.
Step 8– Using the 5mm Allen Key provided with the machine, replace the Heel Rest Adjustment Button as shown.
Step 9– Press the Heel Rest adjustment button and replace the Heel Rests as shown.

Step 10– Replace the Foot Board as shown.

Step 11-Replace the Handle Rests and Handle Rest Bolts as shown. Do not Tighten the bolts yet.
Step 12-Replace the bolts fastening the Foot Board to the side rails as shown. When complete tighten all fasteners.