Knowledge Base Archives: M1

M1 Service Instructions

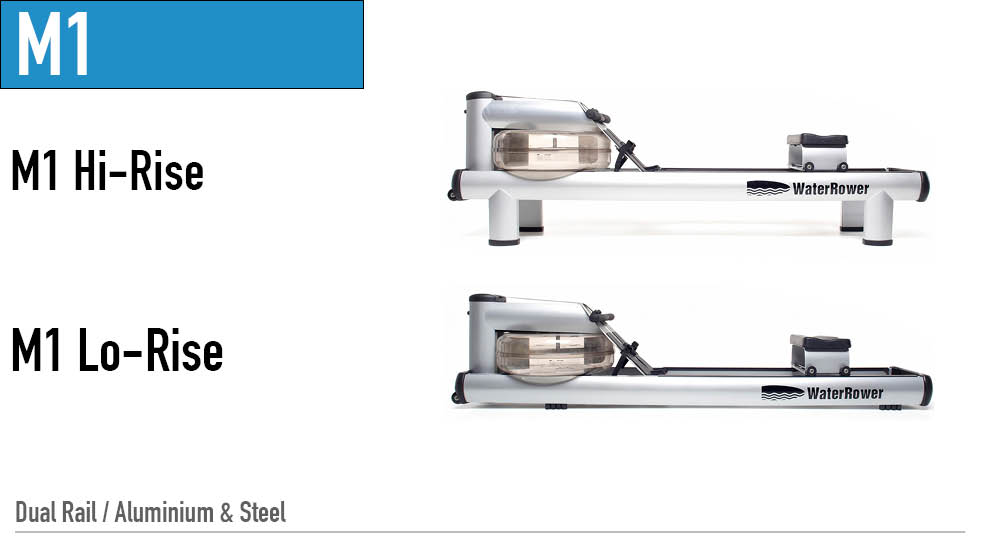
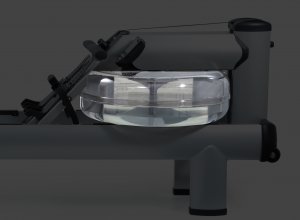
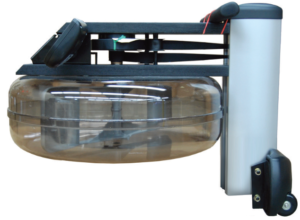
M1: Full Tank Assembly Replacement

Step 1. Remove the handle from the handle rests and place the handle in the fully forward position.   Step 2. Stand the rower upright. Disconnect the bungee from the recoil belt, then lower the rower to normal position.     Step 3.  Using the 5mm ratchet provided with your rower (or a 5mm Allen …

M1 Service Instructions

M1: Metal Clutch Replacement

For Video Instructions, click here: Replacing the Clutch (Plastic) Step 1- Remove the handle from the handle rests and place the handle in the full forward position as shown.   Step 2- Stand the WaterRower upright and disconnect the bungee as shown. Step 3- Lay the WaterRower down and slowly pull the handle so that …

M1 Monitor Service Instructions

M1: Wire Harness Replacement

Position the handle forward to the front Forward Riser pulley Carefully remove the Top Deck by removing the Top Deck bolts and upper Tie Rods. Gently lift the Top Deck up being careful not to dislodge any of the guide pulleys. Unclip the sensor connector from the wire harness. Remove the footboard handle rests, and loosen …

M1 Monitor Service Instructions

M1: Monitor Sensor Disk Alignment

If your S4 monitor is flashing zeros and not counting down, there is one simple check you can do that may solve the problem. You can check the position of the Sensor Disk. During shipping of your WaterRower Tank this Sensor Disk can slide slightly downwards. The diagram below shows the position of the Sensor …

M1 Service Instructions

M1: Tank Reseal with Glue Kit

If your tank has sprung a leak, the best way to go about repairing it is with our Tank Glue Kit. We have full written instructions as well as a service video available for you below.   Please read all instructions carefully and view the service video before attempting this repair. Be sure to handle the …

M1 Service Instructions

M1: Tank Cover Removal

Video Instructions: Removing & Replacing the M1 Tank Cover Step 1.  Place handle into the most forward position near the Forward Riser Pulley. Step 2.  Remove the rest bolts. Step 3.  Pivot back the footboard. Step 4.  Remove the cover from the rower to expose the top deck.

M1 Service Instructions

M1: Top Deck Replacement

For Video Instructions, click here: Removing the Top Deck   Step 1- Remove the handle from the handle rests and place the handle in the full forward position as shown. Step 2- Stand the WaterRower upright and disconnect the bungee as shown. Step 3- Lay the WaterRower down. Remove the Tie Rods and JCB bolts …

M1 Service Instructions

M1: Short Tank Assembly Replacement

1. Remove the handle from the handle rests and place in the full forward position. 2. Stand the WaterRower upright and disconnect the bungee. 3. Lay the WaterRower down and pull the handle so the drive strap unwinds from the clutch housing. Remove the handle and drive strap from the clutch by unstrapping the velcro on …

M1 Service Instructions

M1: Recoil Bushing Replacement

Handle Removal Step 1- Remove the handle from the Handle rests and place the Handle in the full forward position.   Step 2- Stand the WaterRower upright and disconnect the bungee from the Recoil Belt as shown.   Step 3- Lay the WaterRower down and slowly pull the handle so that the Drive Strap unwinds …

M1 Service Instructions

M1: Recoil Belt Buckle Replacement

Step 1- Pass the Recoil Belt through the bungee buckle with the belt facing the serrations on the buckle as shown.   Step 2- Pass the Recoil Belt through the D-ring and back through the bungee buckle as shown. The Recoil Belt should follow itself back through the buckle. It is advised that the loose …