Knowledge Base Archives: M1

M1 Service Instructions

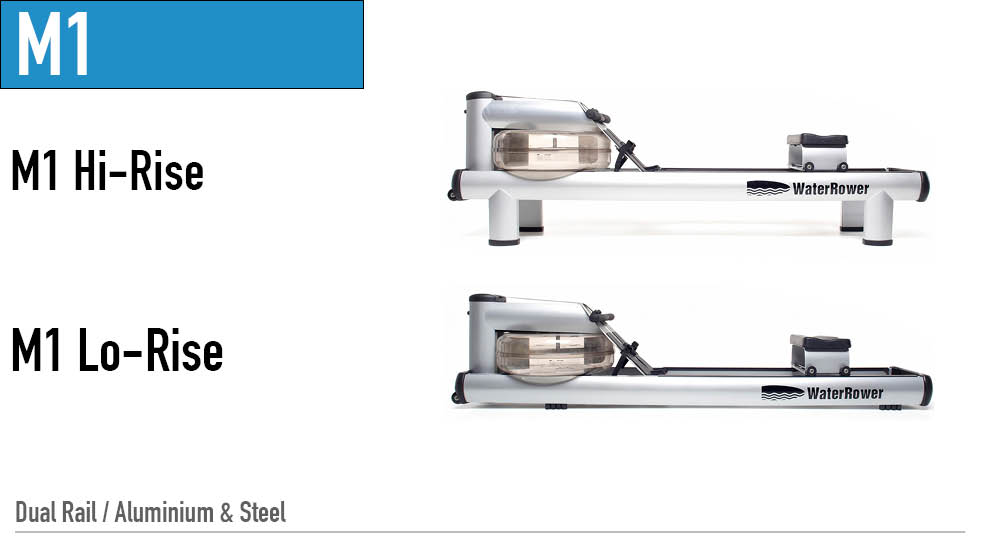
M1: Recoil Belt Replacement (Clip on Recoil)

For Video Instructions, click here: Replacing the Recoil Belt Step 1- Remove the handle from the handle rests and place the handle in the full forward position Step 2- Stand the WaterRower upright and disconnect the bungee from the recoil belt as shown Step 3- Lay the machine down and remove the recoil strap from …

M1 Service Instructions

M1: Oilite Bearing Replacement

Step 1- Remove the Handle from the handle rests and place the handle in the full forward position. Step 2- Stand the WaterRower upright and disconnect the bungee from the Recoil Belt as shown.   Step 3- Lay the WaterRower down and slowly pull the handle so that the Drive Strap unwinds from the clutch …

M1 Service Instructions

M1: Level Gauge Location

The Level Gauge sticker on all Series 4 (S4) model WaterRower units, is located on the side of the tank under the tank stopper. The Level Gauge sticker on the A1 and Indo-Row units is located on the bottom of the tank. On the A1 and GX WaterRower units, this sticker also has the unit’s …

M1 Service Instructions

M1: Handle replacement (metal clutch)

For Video Instructions, click here: Replacing the Handle Assembly (Metal/Velcro attachment) Step 1. Remove the Handle from the handle rests and place the handle in the full forward position Step 2. Stand the WaterRower upright and disconnect the bungee from the recoil belt as shown. Step 3. Lay the WaterRower down and slowly pull the handle so that …

M1 Service Instructions

M1: Handle Replacement (plastic clutch)

For Video Instructions, click here: Replacing the Handle Assembly (Plastic – Bolt On)   Step 1- Remove the handle from the handle rests and place it in the full forward position.   Step 2- Stand the WaterRower upright and unclip the bungee from the recoil belt.   Step 3- Lay the WaterRower down and slowly …

M1 Service Instructions

M1: Forward Riser Replacement

Step 1.  Place handle into the most forward position near the Forward Riser Pulley. Step 2.  Remove the handle rest bolts. Step 3.  Pivot back the footboard. Step 4.  Pivot back the footboard. Step 5.  Remove the handle. To do this; a. Unclip the bungee cord from the recoil strap. Gently pull the handle keeping tension on …

M1 Service Instructions

M1: Clutch Replacement (Plastic)

For Video Instructions, click here: Replacing the Clutch (Plastic) Step 1- Remove the handle from the handle rests and place the handle in the full forward position as shown.   Step 2- Stand the WaterRower upright and disconnect the bungee as shown. Step 3- Lay the WaterRower down and slowly pull the handle so that …

M1 Monitor Service Instructions

M1: Monitor Sensor Replacement

For Video Instructions, click here: S4 Monitor Sensor Replacement Step 1- Remove the handle from the handle rests and place the handle in the full forward position as shown.   Step 2- Stand the WaterRower upright and disconnect the bungee as shown.   Step 3- Remove the Tie Rods and JCB bolts connecting the Top …

M1 Monitor Service Instructions

M1: Monitor Wire Assembly Replacement

Position the handle forward to the front Forward Riser pulley Remove the handle rest bolts from the footboard and then angle the footboard away from the tank Remove the aluminum tank cover by sliding it towards the footboard at an upward angle. See Video instructions. Carefully remove the Top Deck by removing the Top Deck …

M1 Monitor Service Instructions

M1: Monitor Sensor Disk Replacement

Sensor Disk Replacement: View a video for this Step 1– Remove the Handle from the handle rests and place the handle in the full forward position as shown.   Step 2- Stand the WaterRower upright and disconnect the bungee as shown.  Step 3- Lay the WaterRower down. Remove the Tie Rods and JCB bolts connecting the Top Deck to …