For Video Instructions, click here: Replacing the Handle Assembly (Plastic – Bolt On)
Step 1- Remove the handle from the handle rests and place it in the full forward position.
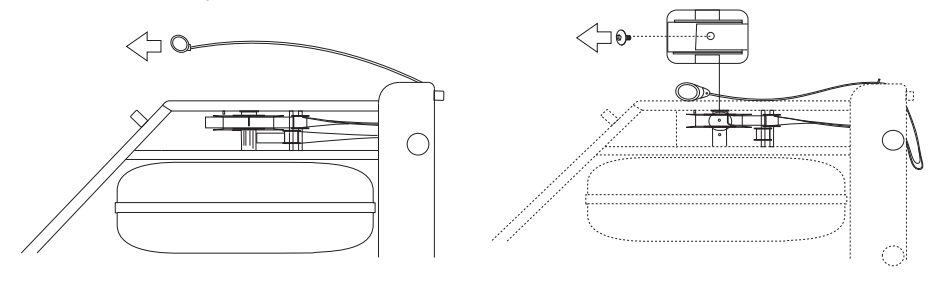
 Step 2- Stand the WaterRower upright and unclip the bungee from the recoil belt.
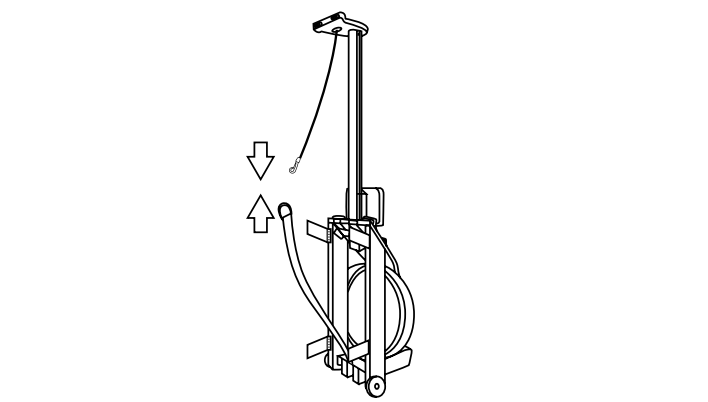
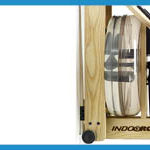
Step 3- Lay the WaterRower down and slowly pull the handle so that the drive strap unwinds from the clutch housing. Do this gently as pulling too fast will cause the recoil belt to wind up too much. Once you reach the end, unscrew the bolt holding the Drive Strap to the clutch housing with the 1/8” Allen key.
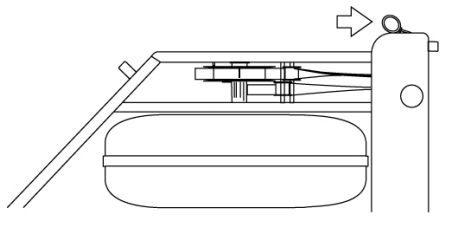
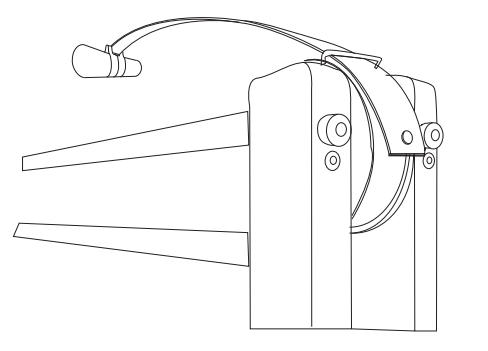
Step 4- Replace the handle. Pass the strap of the handle assembly over the large pulley in the Forward Riser as shown. Ensure the strap does not have any twists in it.
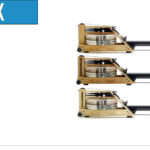
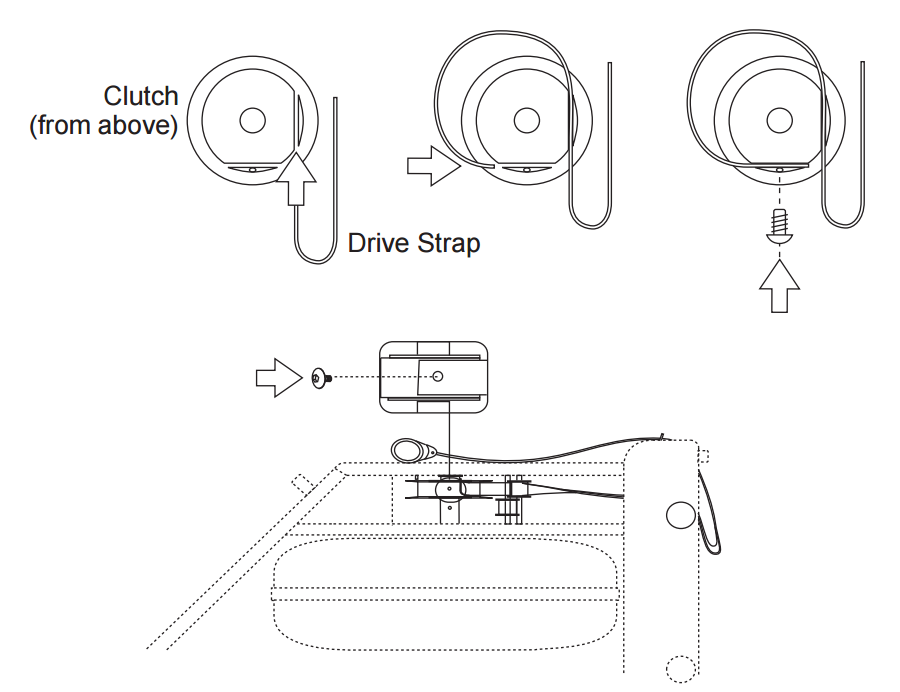
Step 5- Thread the end of the Drive Strap inside (towards the center of the machine) of the Drive Strap guide pulley (the upper of the two guide pulleys). Guide the end of the strap around the clutch and insert it into the slot in the clutch (the slot without the bolt hole). Giving yourself some slack to work with, wrap the strap around the clutch and insert the end of the strap into the slot with the hole for the bolt.
Fasten the strap to the clutch with the small bolt using the 1/8” Allen Key.
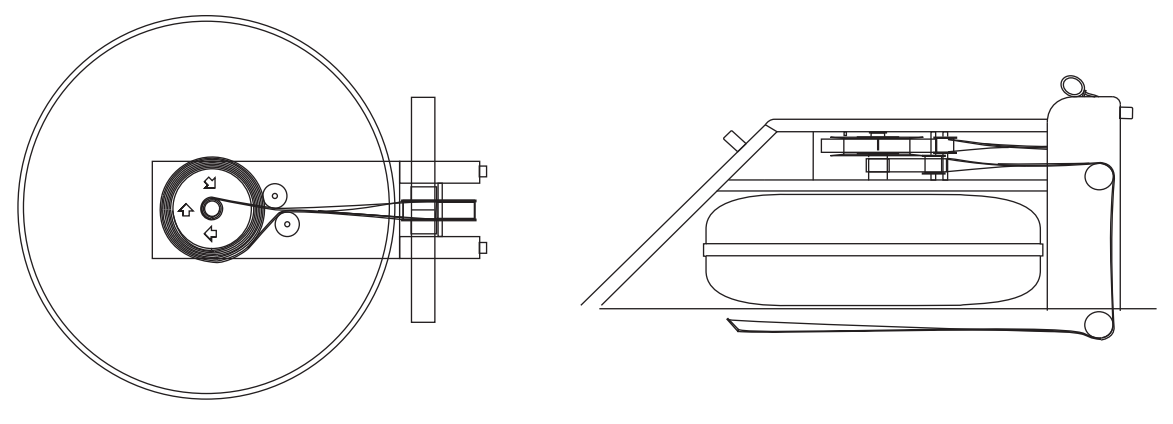
Step 6- With the handle in the full forward position, it is important that the Recoil Belt wraps around the Recoil Bush one and a half times. Once this is so pass the Recoil Belt inside (towards the center of the machine) the Recoil Belt guide pulley (the lower of the two guide pulleys) and over the two pulleys in the Forward Riser. Pass the belt underneath the machine towards the bungee as shown.
 Step 7- Stand the WaterRower up again, and re-clip the bungee to the Recoil Belt.