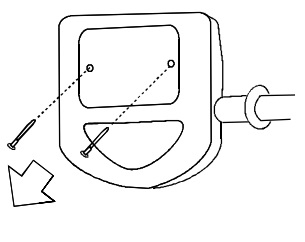
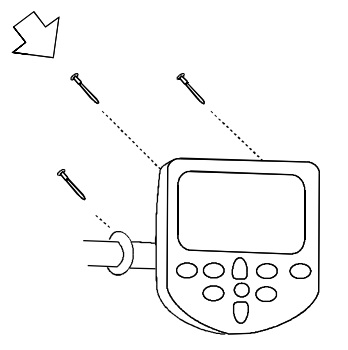
Step 1- Remove screws (2) fastening the battery cover at the rear of the monitor as shown.
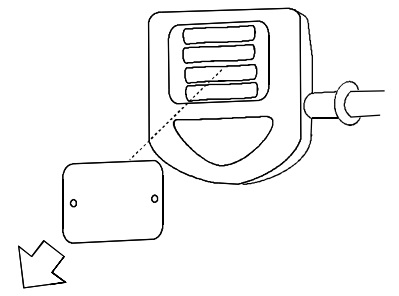
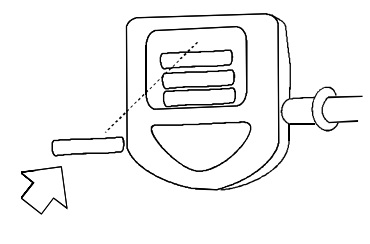
Step 2– Remove the Battery Cover as shown.
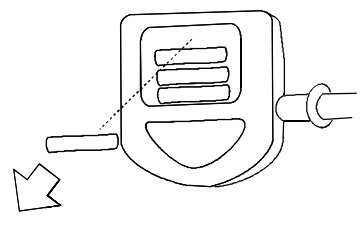
Step 3- Remove the Battery as shown
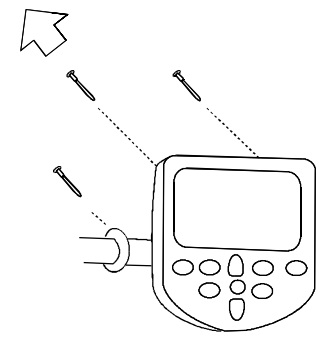
Step 4- Remove screws (4) fastening the Monitor Board Assembly to the housing as shown.
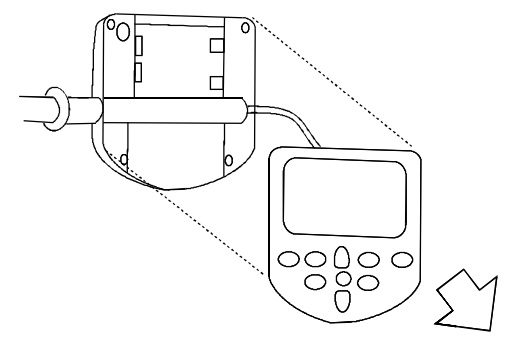
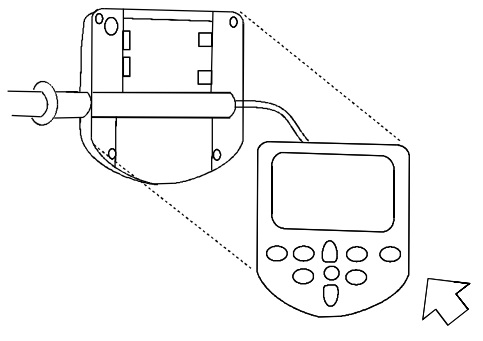
Step 5- Remove Monitor Board Assembly as shown.
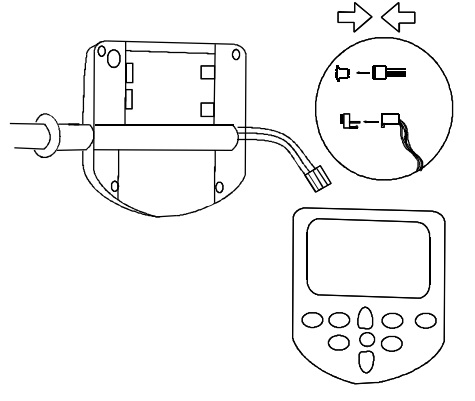
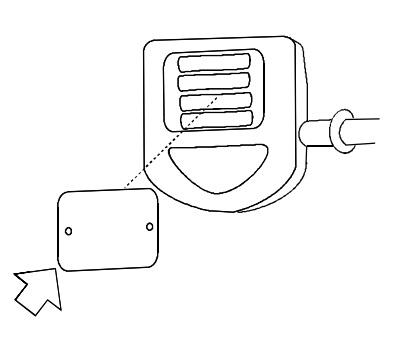
Step 6- Remove the Sensor Wiring Connector as shown.
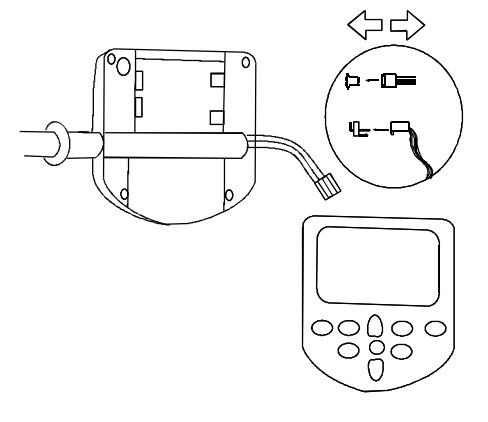
Step 7- Replace Monitor Board as shown. Be care to ensure that yoyu place the Sensor Wiring Connector correctly. The connector should be oriented so that the red wire is toward the outside edge of the board.
Step 8- Replace Monitor Board assembly as shown.
Step 9- Replace screws (4) fastening the Monitor Board Assembly to the Monitor Housing as shown.
Step 10- Replace Batteries as shown.
Step 11- Replace the Battery Cover as shown.
Step 12– Replace the screws (2) fastening the battery cover at the rear of the monitor as shown.